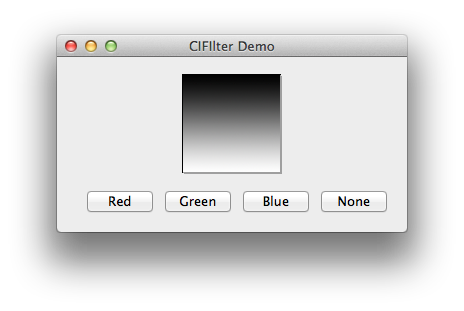
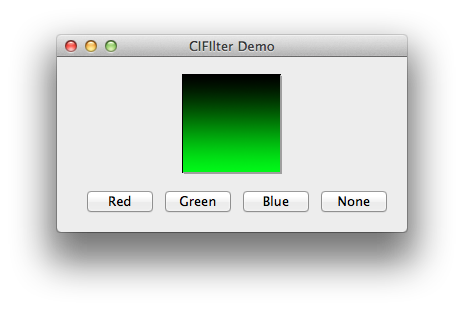
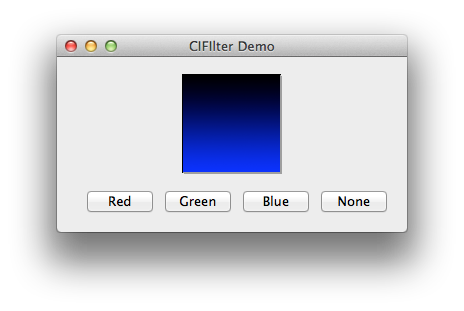
In a recent project I found I needed to colourise (colorize to you Americans!) a greyscale image. Fortunately Apple have built-in support for various colour filters, including the multiply filter I needed. Unfortunately CoreImage only works on CoreImage images, not NSImages – and there’s no easy way to convert between the two.


Converting from CIImage to NSImage
Fortunately with Extension Methods, converting a CIImage to an NSImage isn’t too hard:
public static NSImage ToNSImage(this CIImage image)
{
	return ToNSImage(image, image.Extent.Size);
}

public static NSImage ToNSImage(this CIImage image, SizeF size)
{
	var imageRep = NSCIImageRep.FromCIImage(image);
	var nsImage = new NSImage(size);
	nsImage.AddRepresentation(imageRep);

	return nsImage;
}
First we get an NSCIImageRep instance from the CIImage – NSCIImageRep is a class that can render a CIImage. Next we create our new NSImage and use the AddRepresentation method to populate the NSImage with the CIImage. Internally the NSCIImageRep instance will render the CIImage to memory in a bitmap format, NSImage will then populate itself with this bitmap.
Tinting the Greyscale image with CoreImage
Now we don’t need to worry about using CIImages with abandon we can focus on the actual tinting. We need to load in our image, then we need to create a tint image, finally we need to multiply the two together just like in Photoshop. Let’s load in our graphics first:
var mainImage = CIImage.FromUrl(NSUrl.FromFilename(NSBundle.MainBundle.PathForResource(
	Path.GetFileNameWithoutExtension(ImagePath), Path.GetExtension(ImagePath))));
var tintImage = CIImage.ImageWithColor(CIColor.FromRgb(1f, 0f, 0f));
We load in the image using FromUrl here since it’s the most efficient manner. If we loaded in via an NSImage, we would be wasting memory in both the load and conversion process – better to load from the file system directly. If you need to use the same image repeatedly, load in the image as a byte array and create an instance of CIImage using the data. Next we create our filter:
var filter = CIFilter.FromName("CIMultiplyCompositing");
Unfortunately MonoMac doesn’t contain strongly typed bindings for any CoreImage filters, so we need to populate the input parameters using Key-Value Coding:
filter.SetValueForKey(tintImage, (NSString)"inputImage");
filter.SetValueForKey(mainImage, (NSString)"inputBackgroundImage");
We need to cast here because Key-Value coding requires NSString instances. NSString has an implicit conversion operator for string, allowing us to cast string directly to NSString. Note the key names, these must match exactly, each filter has different parameters – a reference for all filter types and their parameters is available here. Now we can perform the tint and display the result:
var processedImage = (CIImage)filter.ValueForKey((NSString)"outputImage");
var outputImage = processedImage.ToNSImage();

ImageView.Image = outputImage;
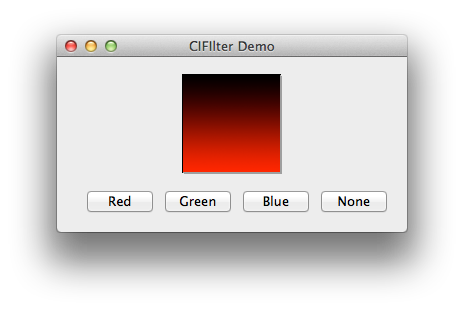
And that’s it! If the filter fails for any reason ValueForKey will return NULL. The code above will apply a red tint and you should get something like:
